It took me quite a while to figure out how I wanted to setup the table of scenarios in my Gloomhaven Ledger app that I’ve been developing. If you’re just figuring out Semantic UI React (SUIR) you’ll find it helpful to follow along with the steps I took to build my functional table component. Make sure to reference the SUIR documentation on tables as we’re walking through the steps.
Step 1.
The first thing to do is build out the very basic functional component. Let’s import React, the scenario data, and the table component from Semantic UI React. We then create a functional component called ScenarioTable that returns a div which will hold our table. Finally let’s make sure to export the default table. The scenario data is available as a github gist.
Step 2.
Now that we have the basic functional component we can build out the 3 sections of the table. It’s header, body, and footer.
Step 3.
Now it’s time to add the header section to our table. We want the first row to span all the columns and display the table title. Then we want a second row to list each of the column names. Notice here that we’re using icons and text for column names! So we make sure to import Icon from Semantic UI React.
Step 4.
This is where things start getting more complex. We want to pull the scenario data from the backend to fill the table’s rows (though for this example we’ll be pulling from the imported json file). In the table body we’re calling the renderScenarioRows function and passing it our scenario data. The renderScenarioRows function takes the array of scenarios and maps over the data. For each scenario we’re creating and returning a table row. You’ll notice that these rows contain checkboxes that we’ve also imported from Semantic UI React. These checkboxes are managed by two useState hooks which track if the scenario is unlocked and if it’s completed.
Step 5.
Once we’ve finished step 4 we pretty much have a finished table, but it’s quite long since we have lots of data. So let’s paginate the table data. Let’s refactor our renderScenarioPages function to take in a scenarioPage variable to track the page that we are viewing. To do that we need to create a variable to track the current scenarioPage and we also need the variable maxScenarioPage to track the last page of scenario data based on displaying 15 rows per page. With those two variables we can set up a two button menu in the footer which when clicked either increases or decreases the page that we’re on. That’s taken care of in the changePage function. Notice that we’re making sure that users cannot navigate beyond the first or last page in both the changePage method and by disabling the buttons.
Step 6.
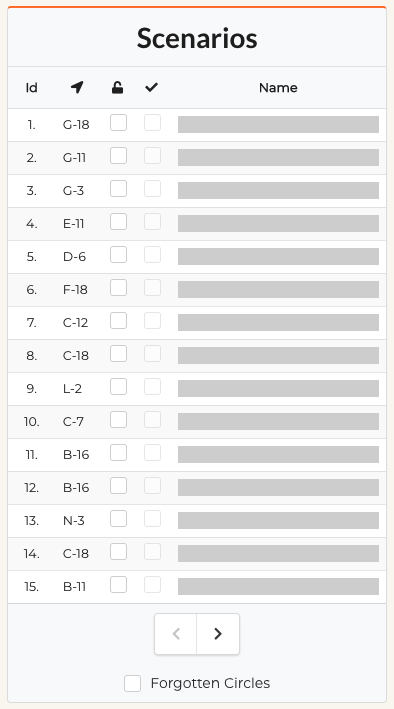
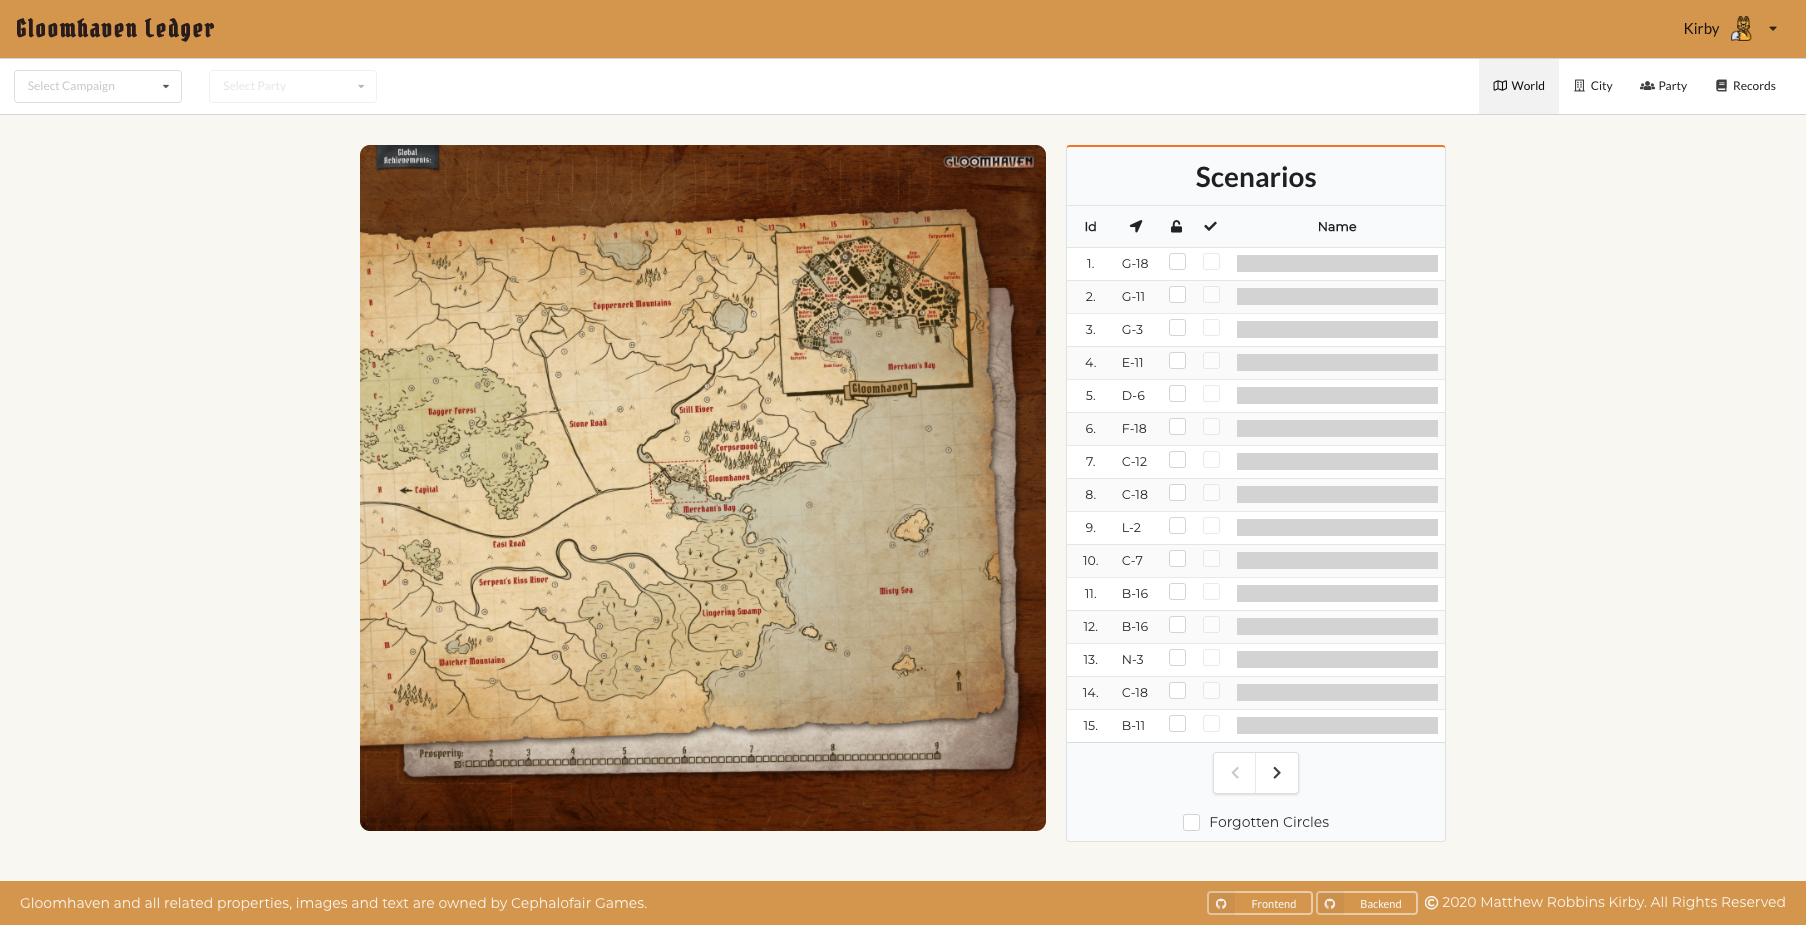
Finally we can browse through the Semantic UI React docs to add some styling changes and address spacing. Let’s make our table striped, unstackable, small, very compact, and give it an orange accent color. Then we give our header cells a specified width which will cause each column to be that width. And last but not least a small quality of life improvement. Our users want to be surprised by scenario names as they unlock scenarios so if the scenario is not unlocked the name is hidden by a grey bar.
And there you have it! A react functional table component with Semantic UI React. Check it out the final component on codesandbox. I hope seeing the steps of this component being built helped you get a better understanding of Semantic UI React. Have you built any other fun or cool tables in Semantic UI React? Hit me up and let me see them!